Arcade by Edward Delaporte
Teenage Mutant Ninja Turtles
#My Approach
#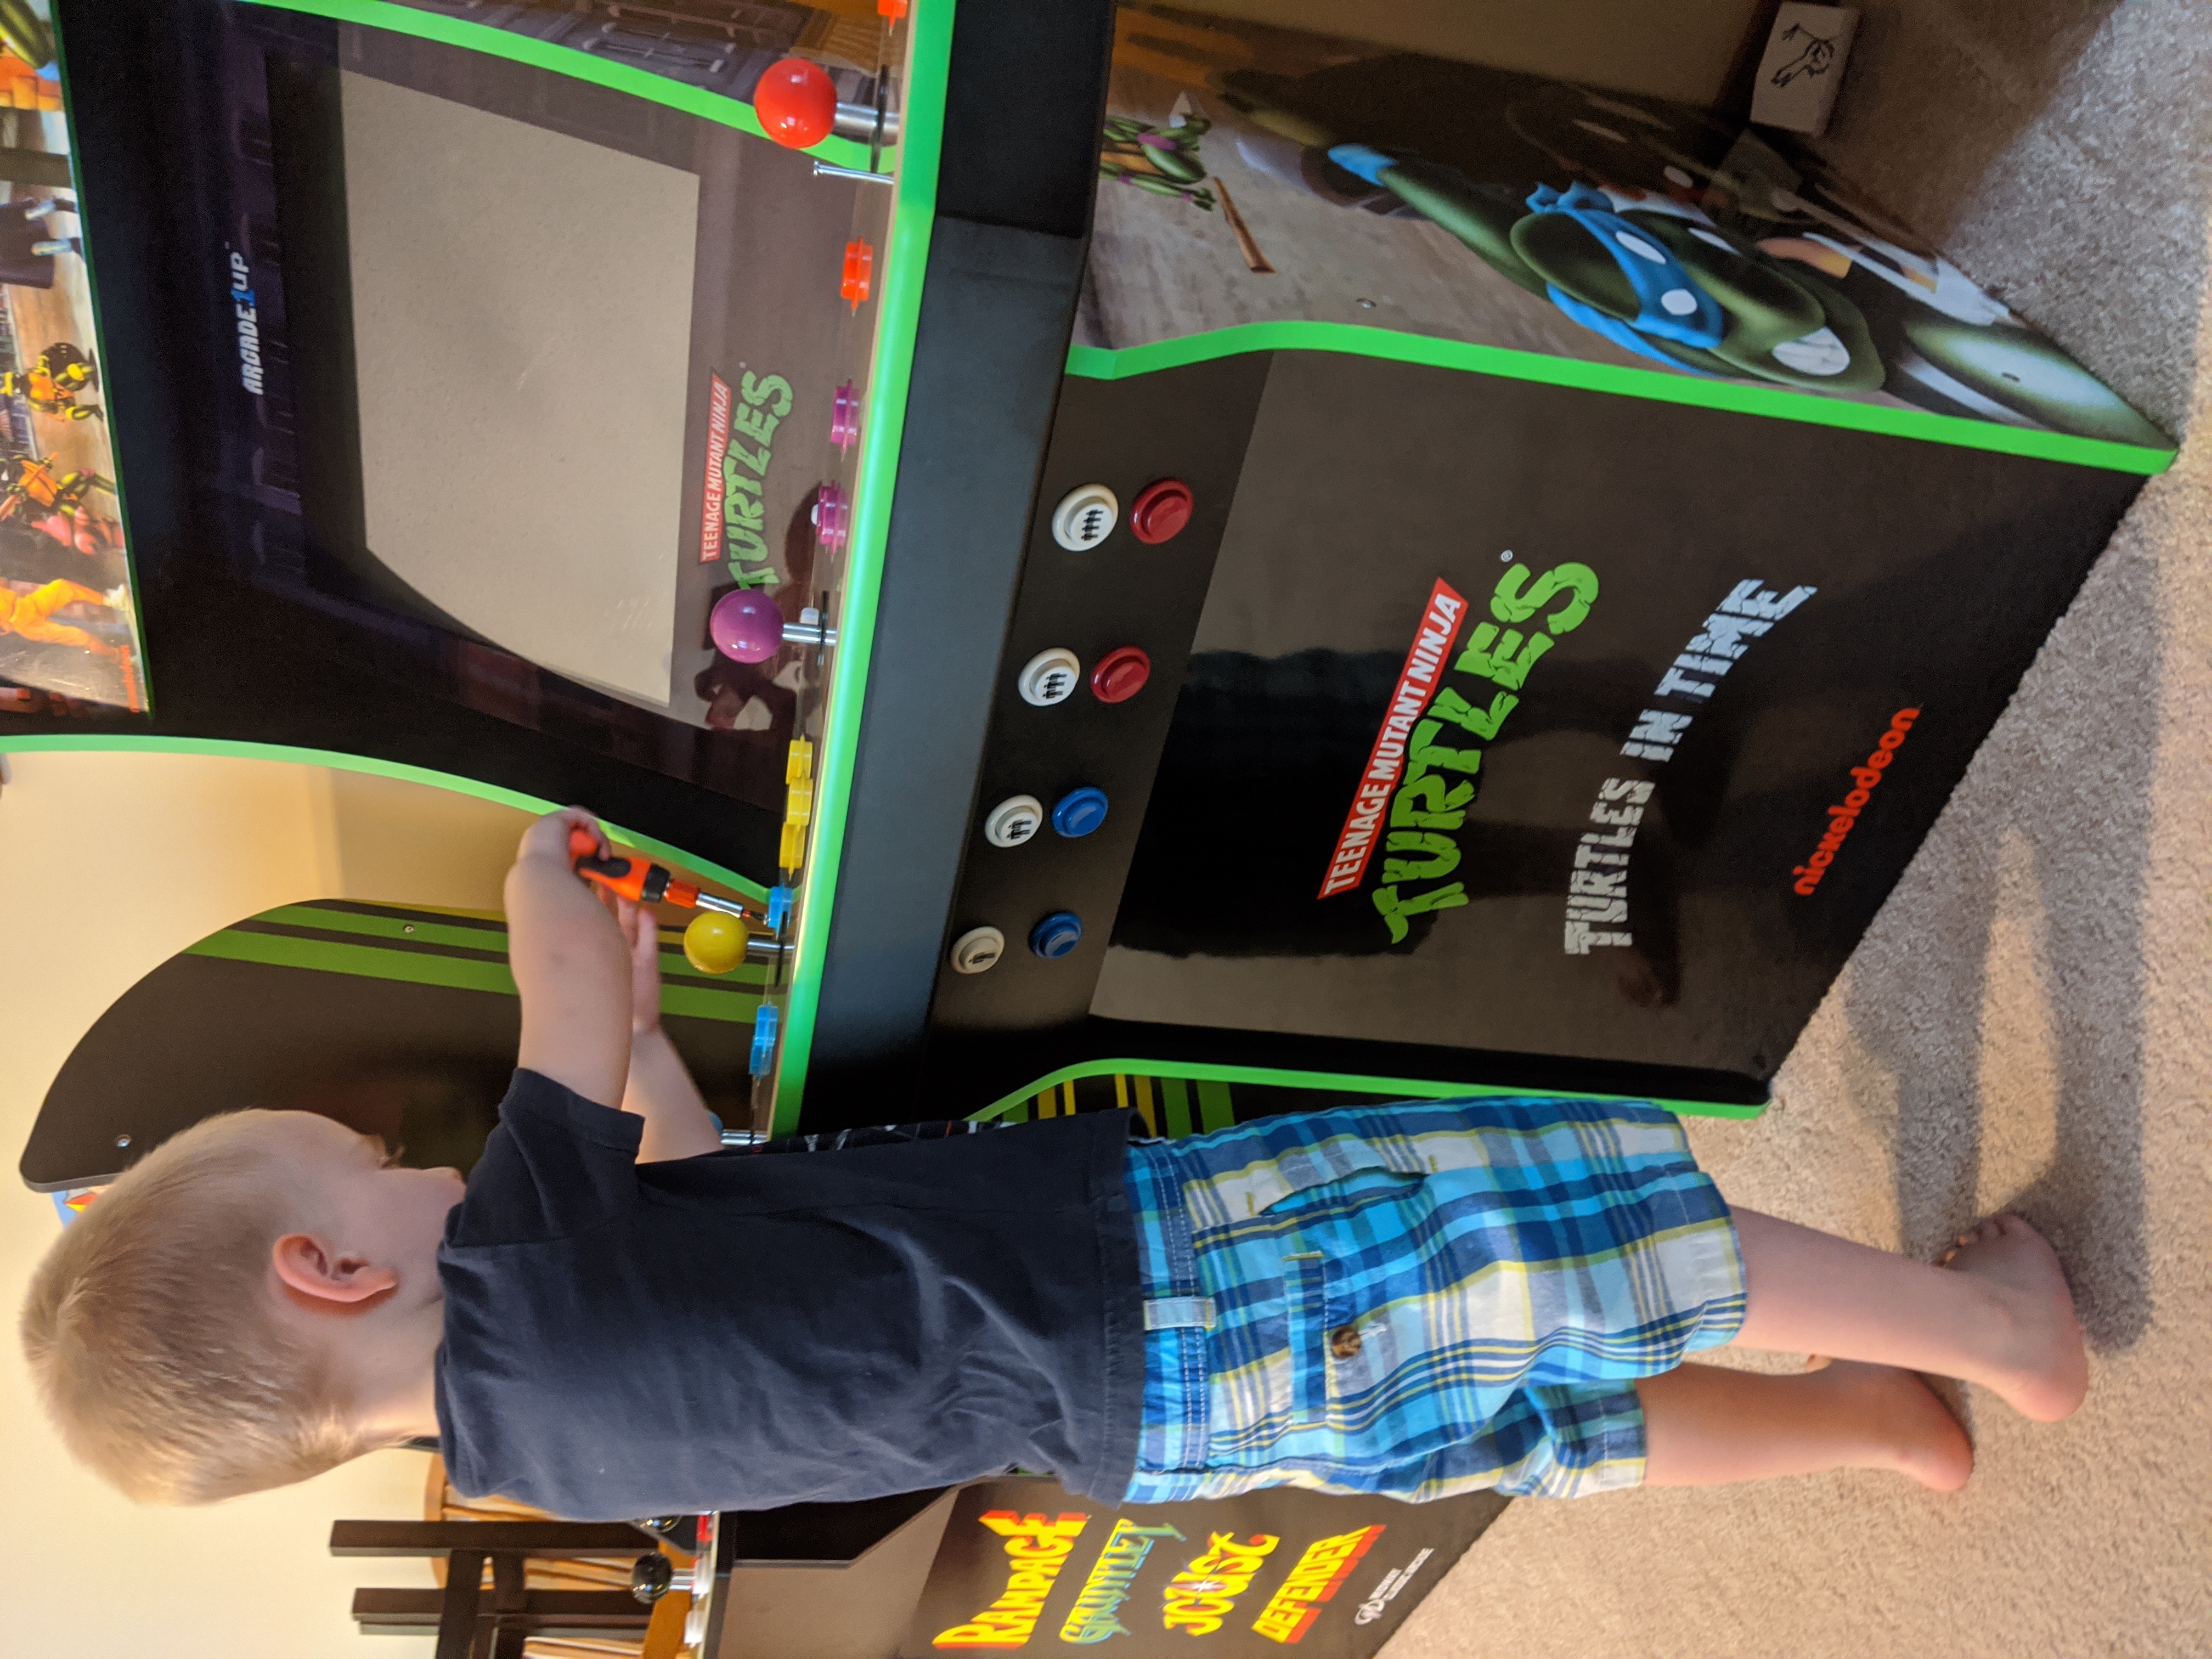
The vision for TMNTcade is to bring a shoulder-to-shoulder play experience to a selected set of games I own on other platforms - and to take apart an arcade machine and see how it ticks.
A limit I set for myself is that I will not drill any new holes in the control surface. So I have four joysticks and at most 3 buttons per player to work with.
I was okay with drilling holes through the "J" panel on the front of the cabinet, so I added "start" and "coin" buttons for each player to the front of the cabinet. This let me reclaim the "start" button on top for gameplay, bringing the total per player up to 3.
The original "start" buttons per player are not close of the other controls, so unless the third button is a rarely used "special", we will likely play only 1 and 2 button games.
Parts List
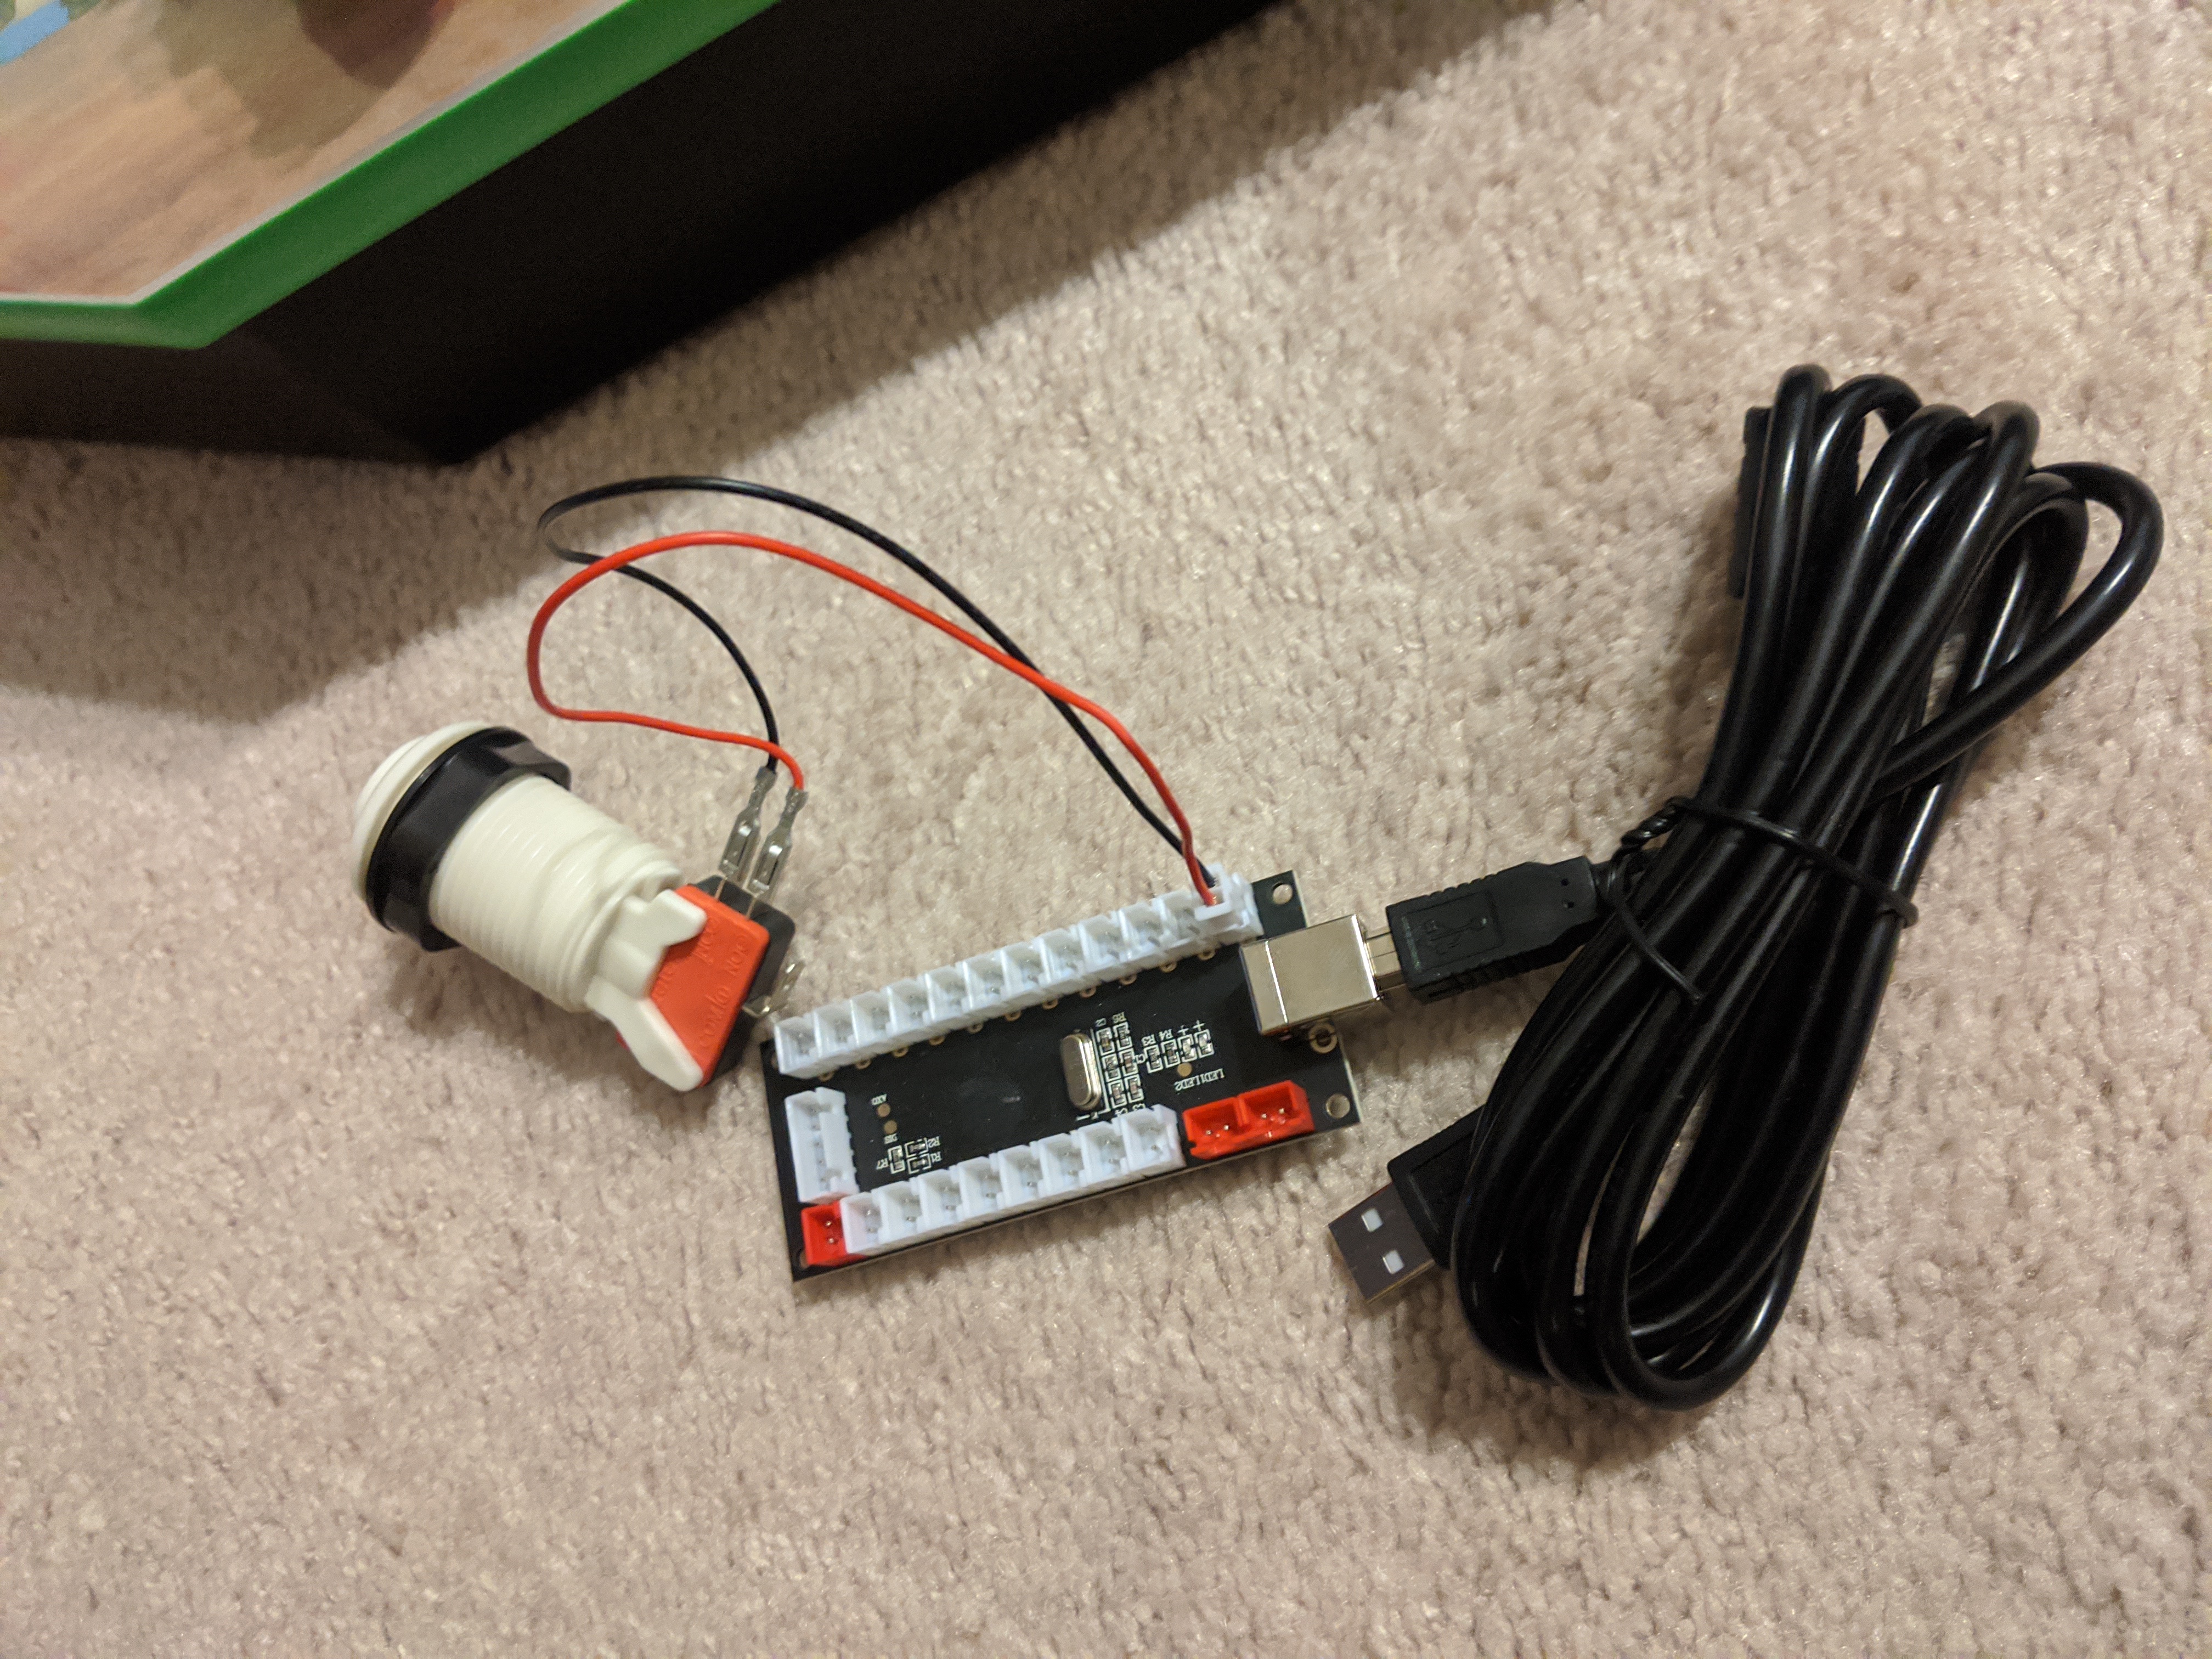
#- 4x Zero Delay Generic Game Controller USB
- 4x "Player" start buttons
- 4x "Coin" buttons
- Raspberry Pi Model 3 (Replaced almost immediately with a Model 4)
- HDMI Cable
- Video Encoder Chip
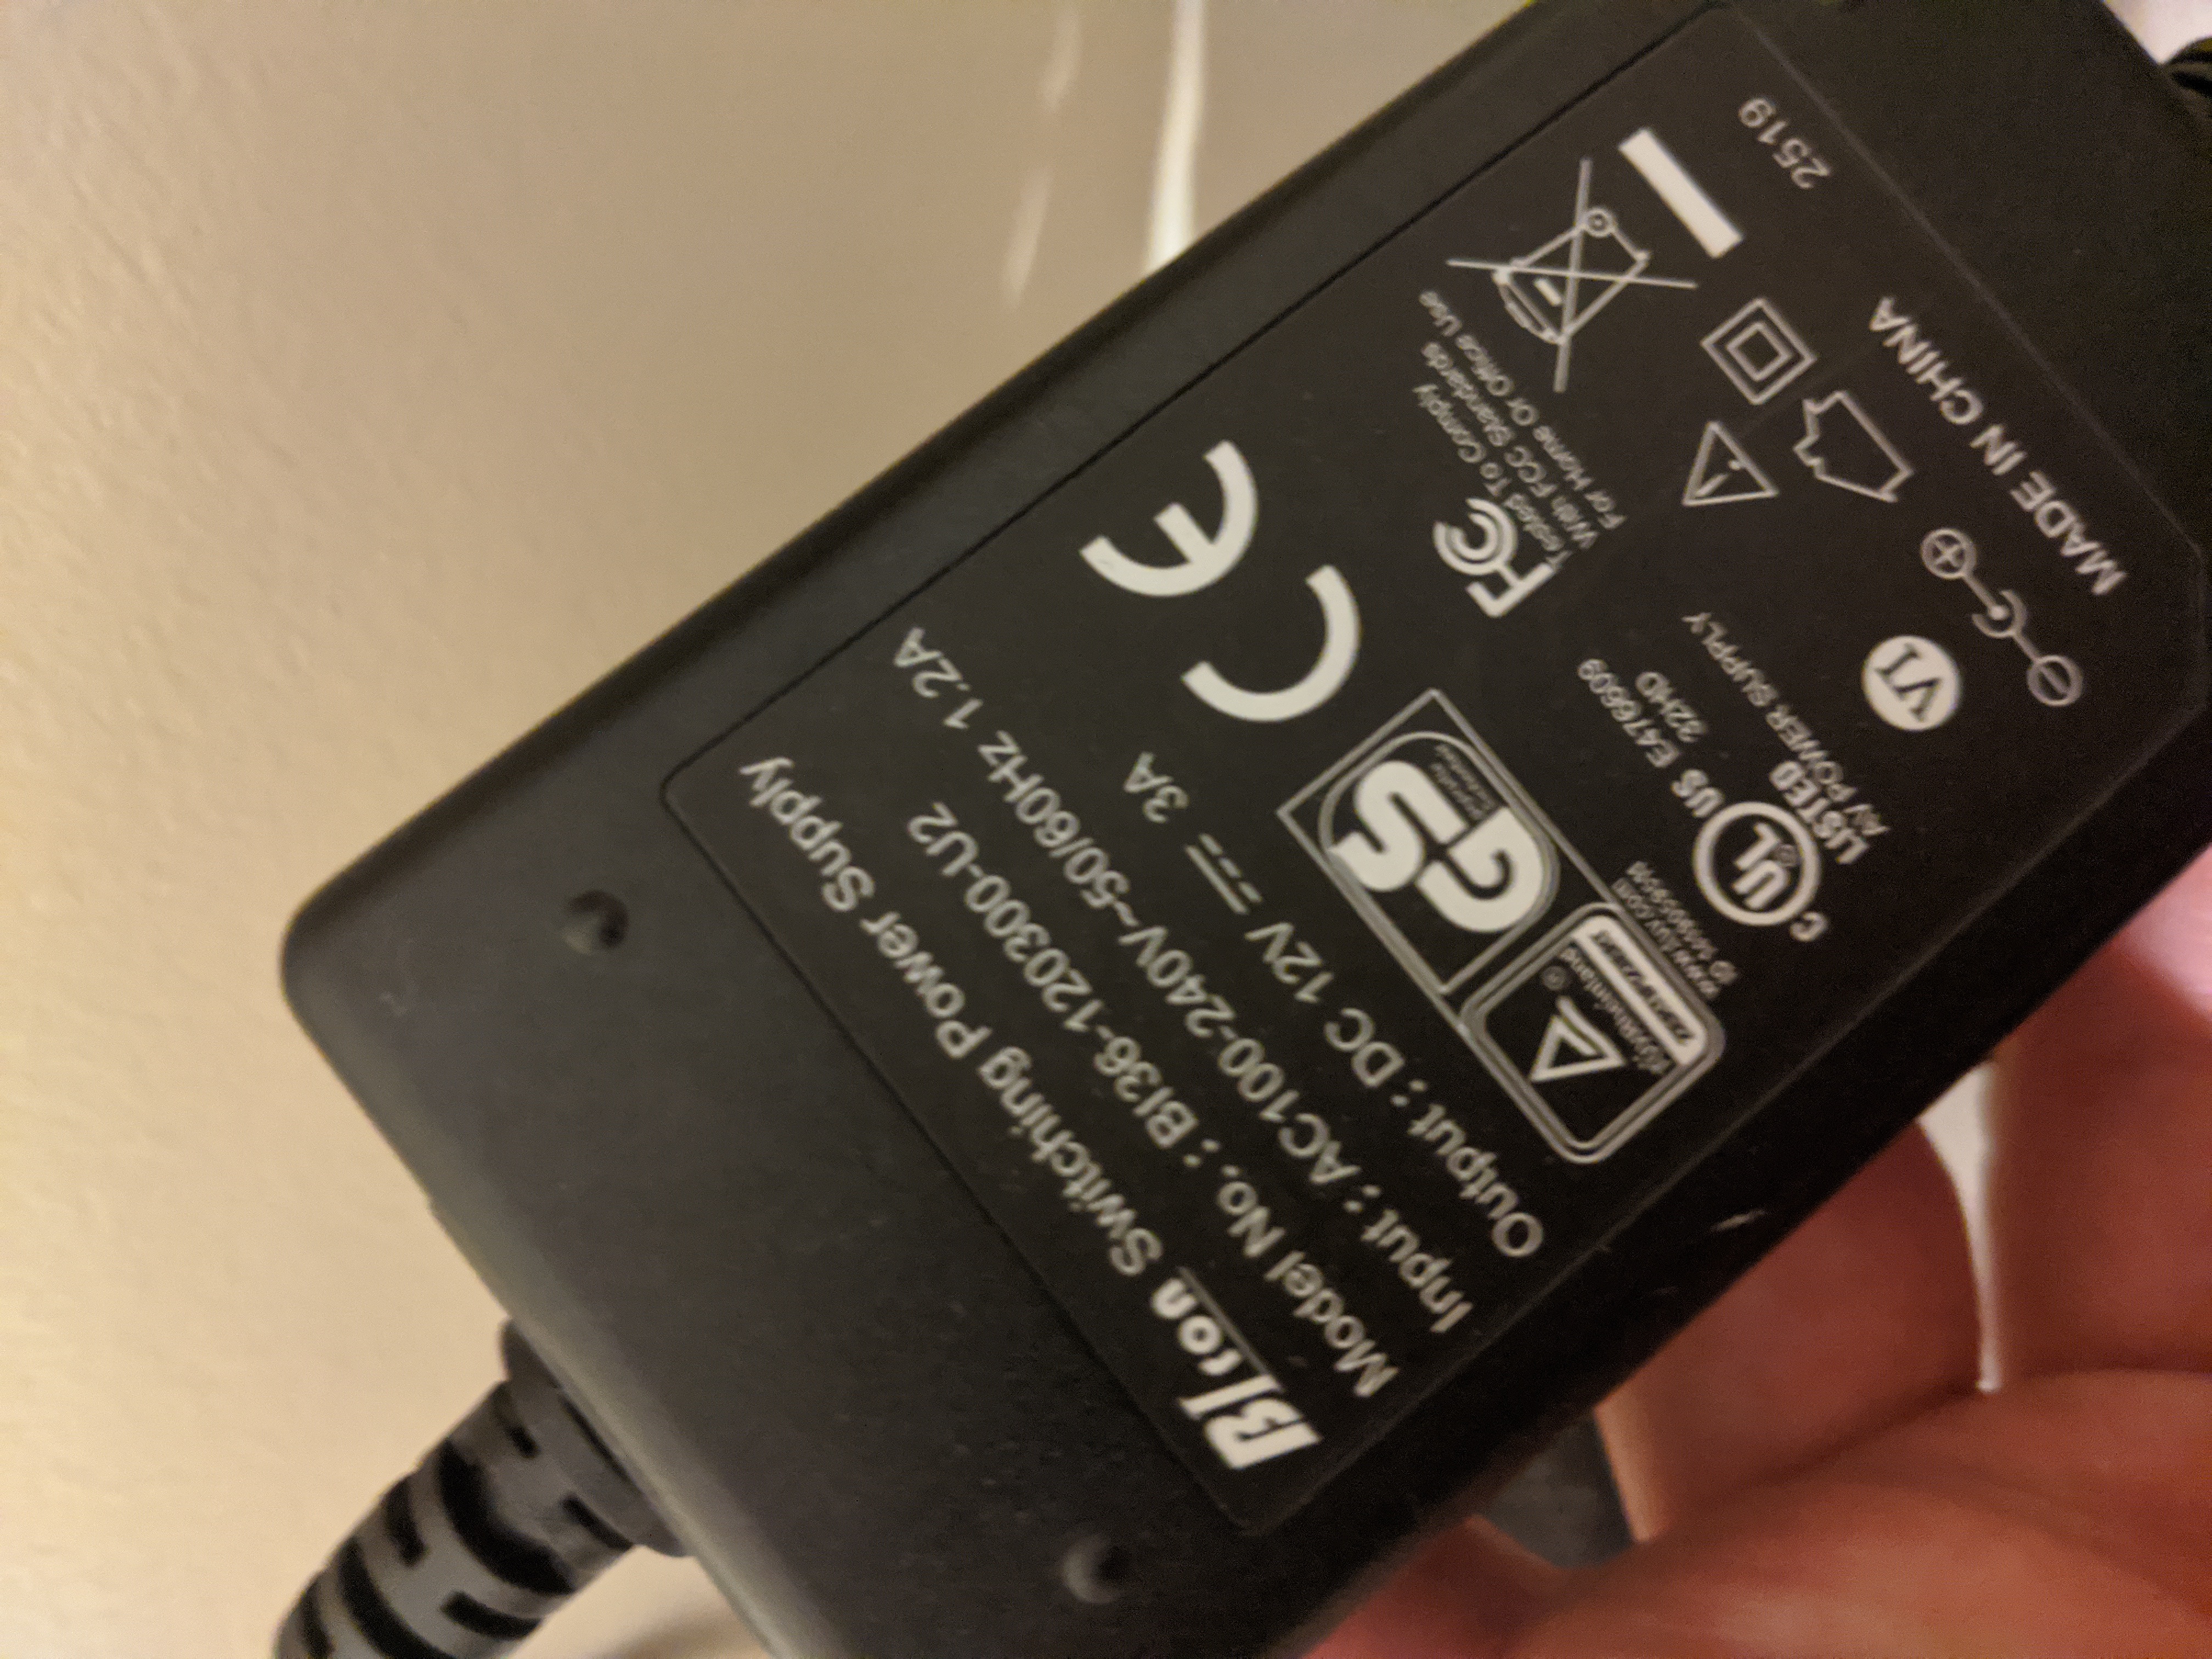
- 3x 12 V power adapter (purchased two additional, and reused the one that came with the cabinet)
- Surge protector
- JST Connector Kit for wiring up the additional buttons on J panel, since I had to run longer wires to reach that part of the cabinet. The kits would also have been helpful for the C panel buttons, but I managed to carefully re-use parts instead.
Sound Amplifier3.5mm to RCA adapterVoice Controlled Outlet - because the original on/off button no longer works.Update: See link to Kongs R Us solution below.
This USB chip allowed the existing cabinet controls to be connected to the Raspbery Pi as USB controllers. Rewiring these controls was the most time-consuming part of the project. I used four of these - one for each player (Leo, Mikey, Don and Raph).
Heart
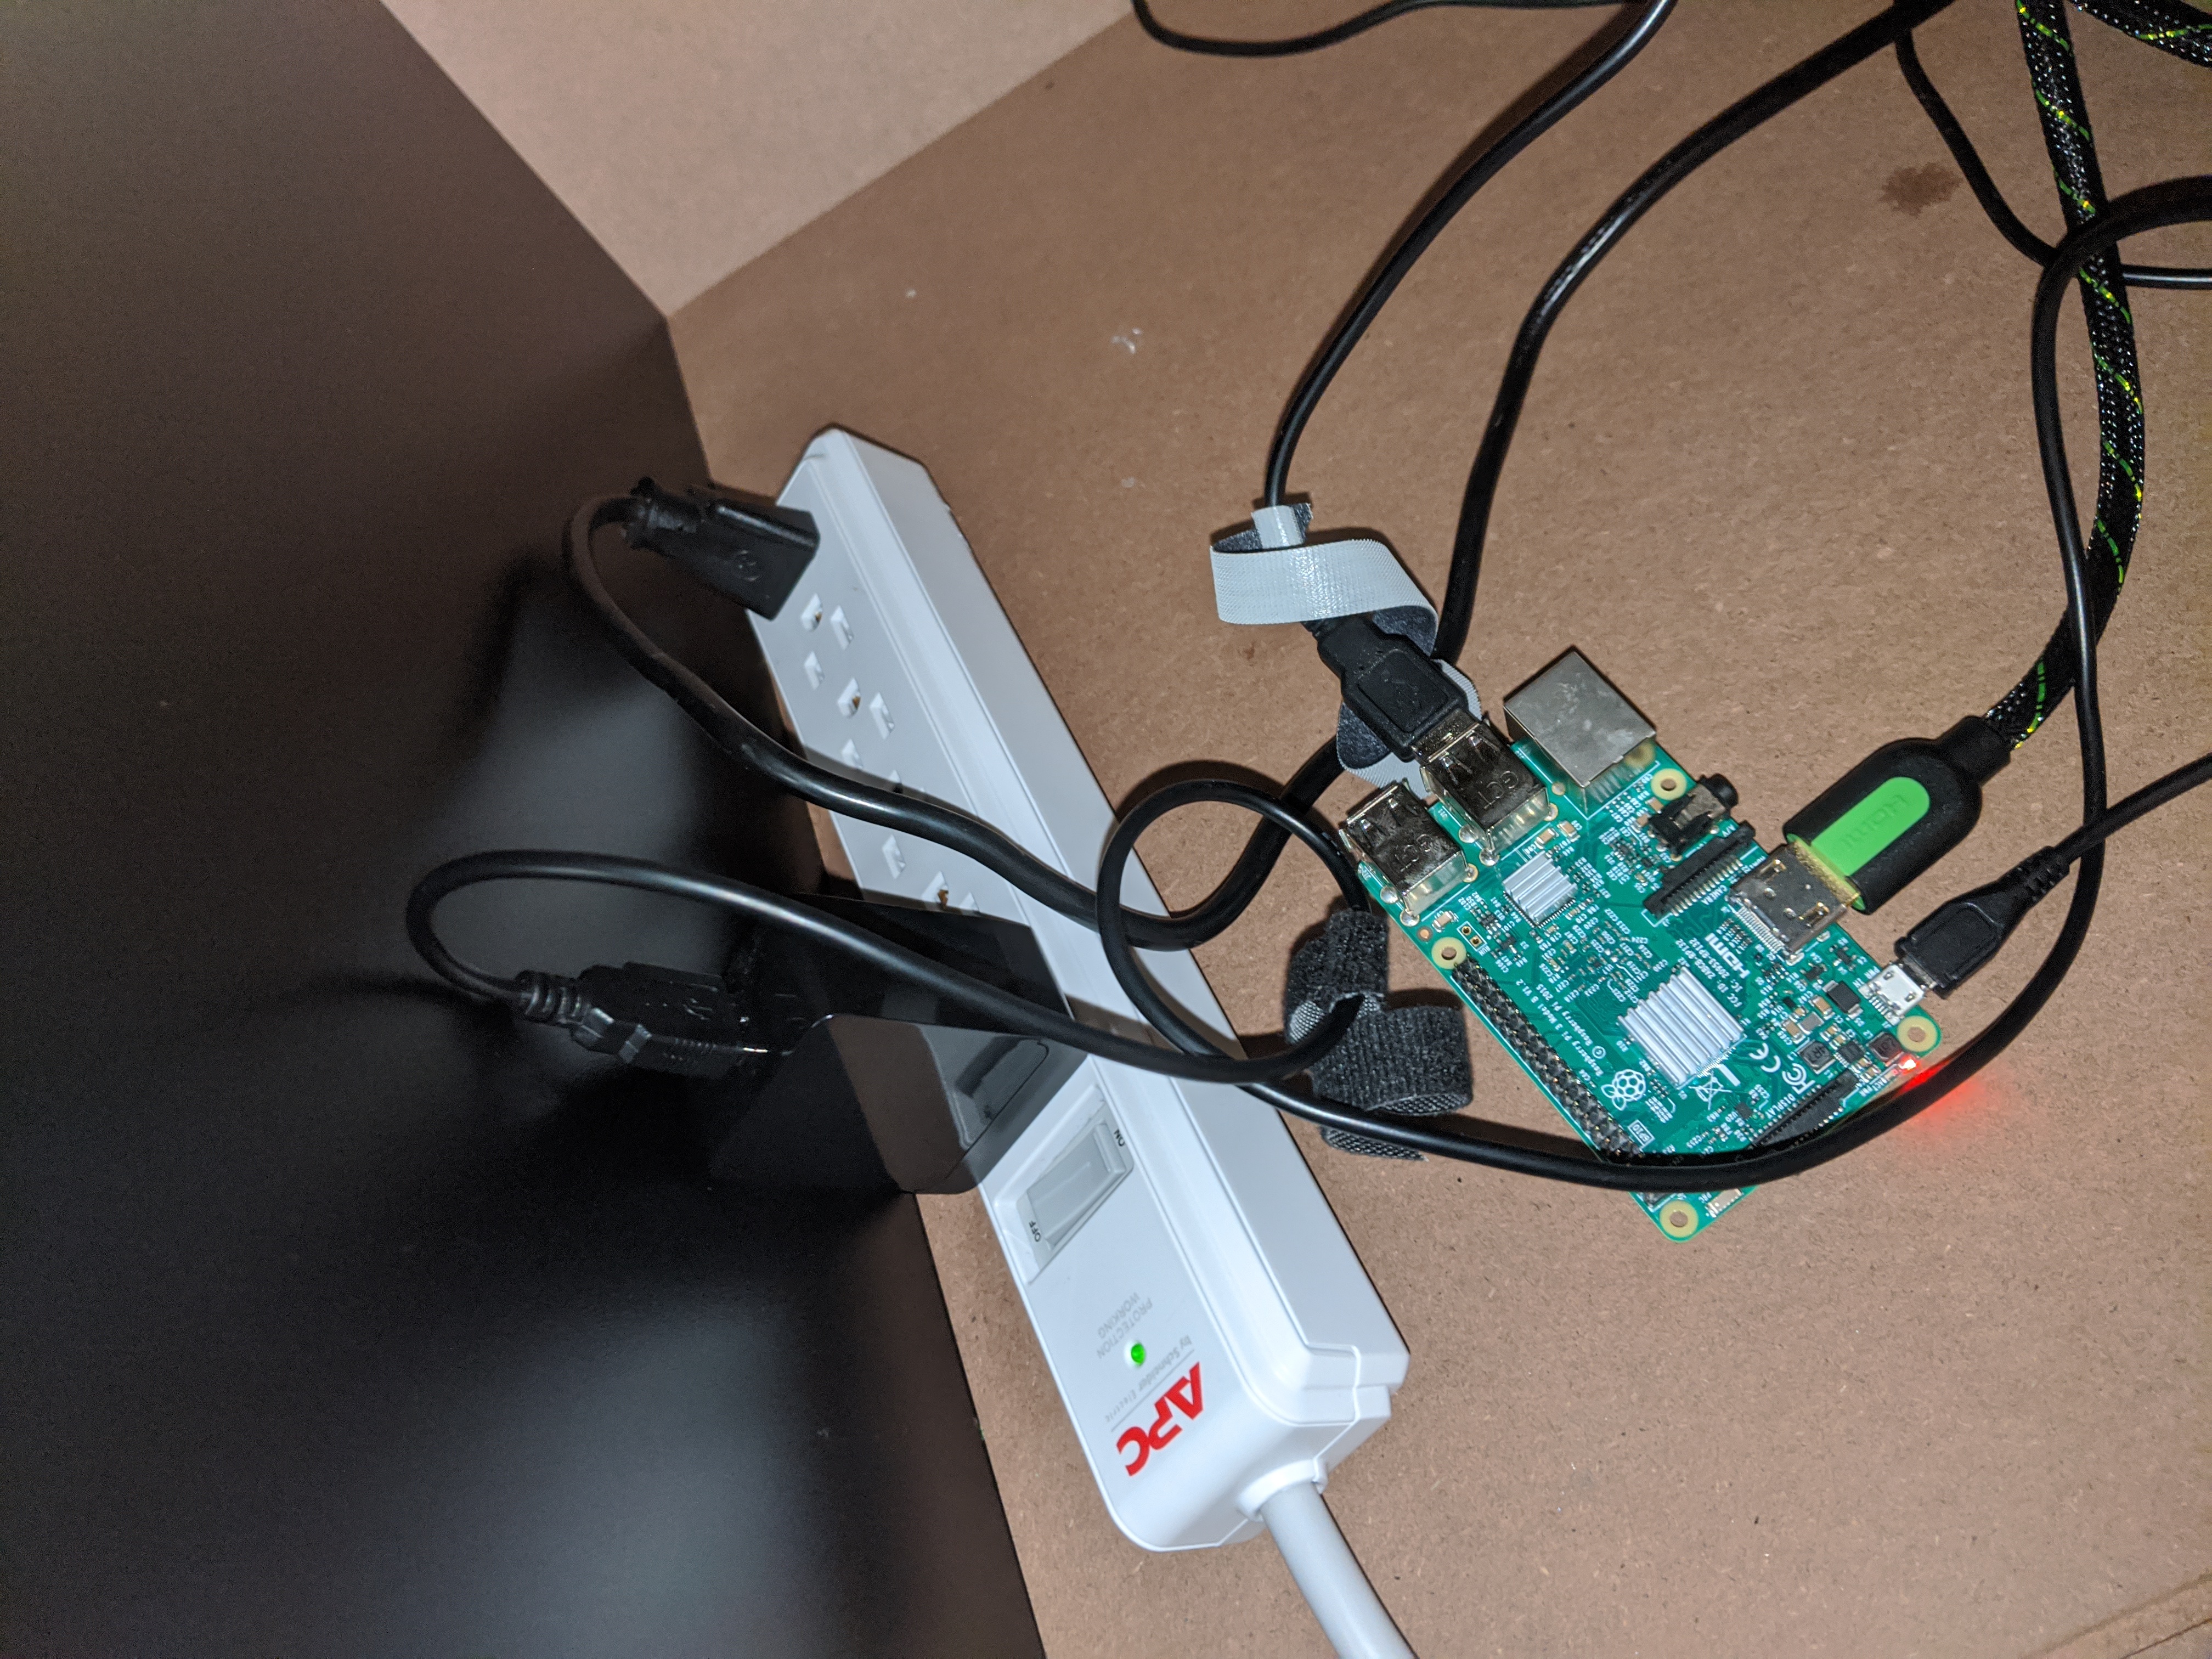
#The heart of this build is a Raspberry Pi, but pretty much any game system that can accept 4 USB controller and output HDMI, VGA or DVI video would have worked. The chief considerations are availability of titles that do not need many buttons, and systems that do not require swapping physical media. I might end up upgrading to a Steam machine.
Wiring the Controls
#
- For the buttons, I used a pliers and moved the existing JST connectors to my USB Connectors. In some places there was some epoxy. I dealt with it by pulling harder with the pliers. I very nearly stripped one of the wires, but it worked out.
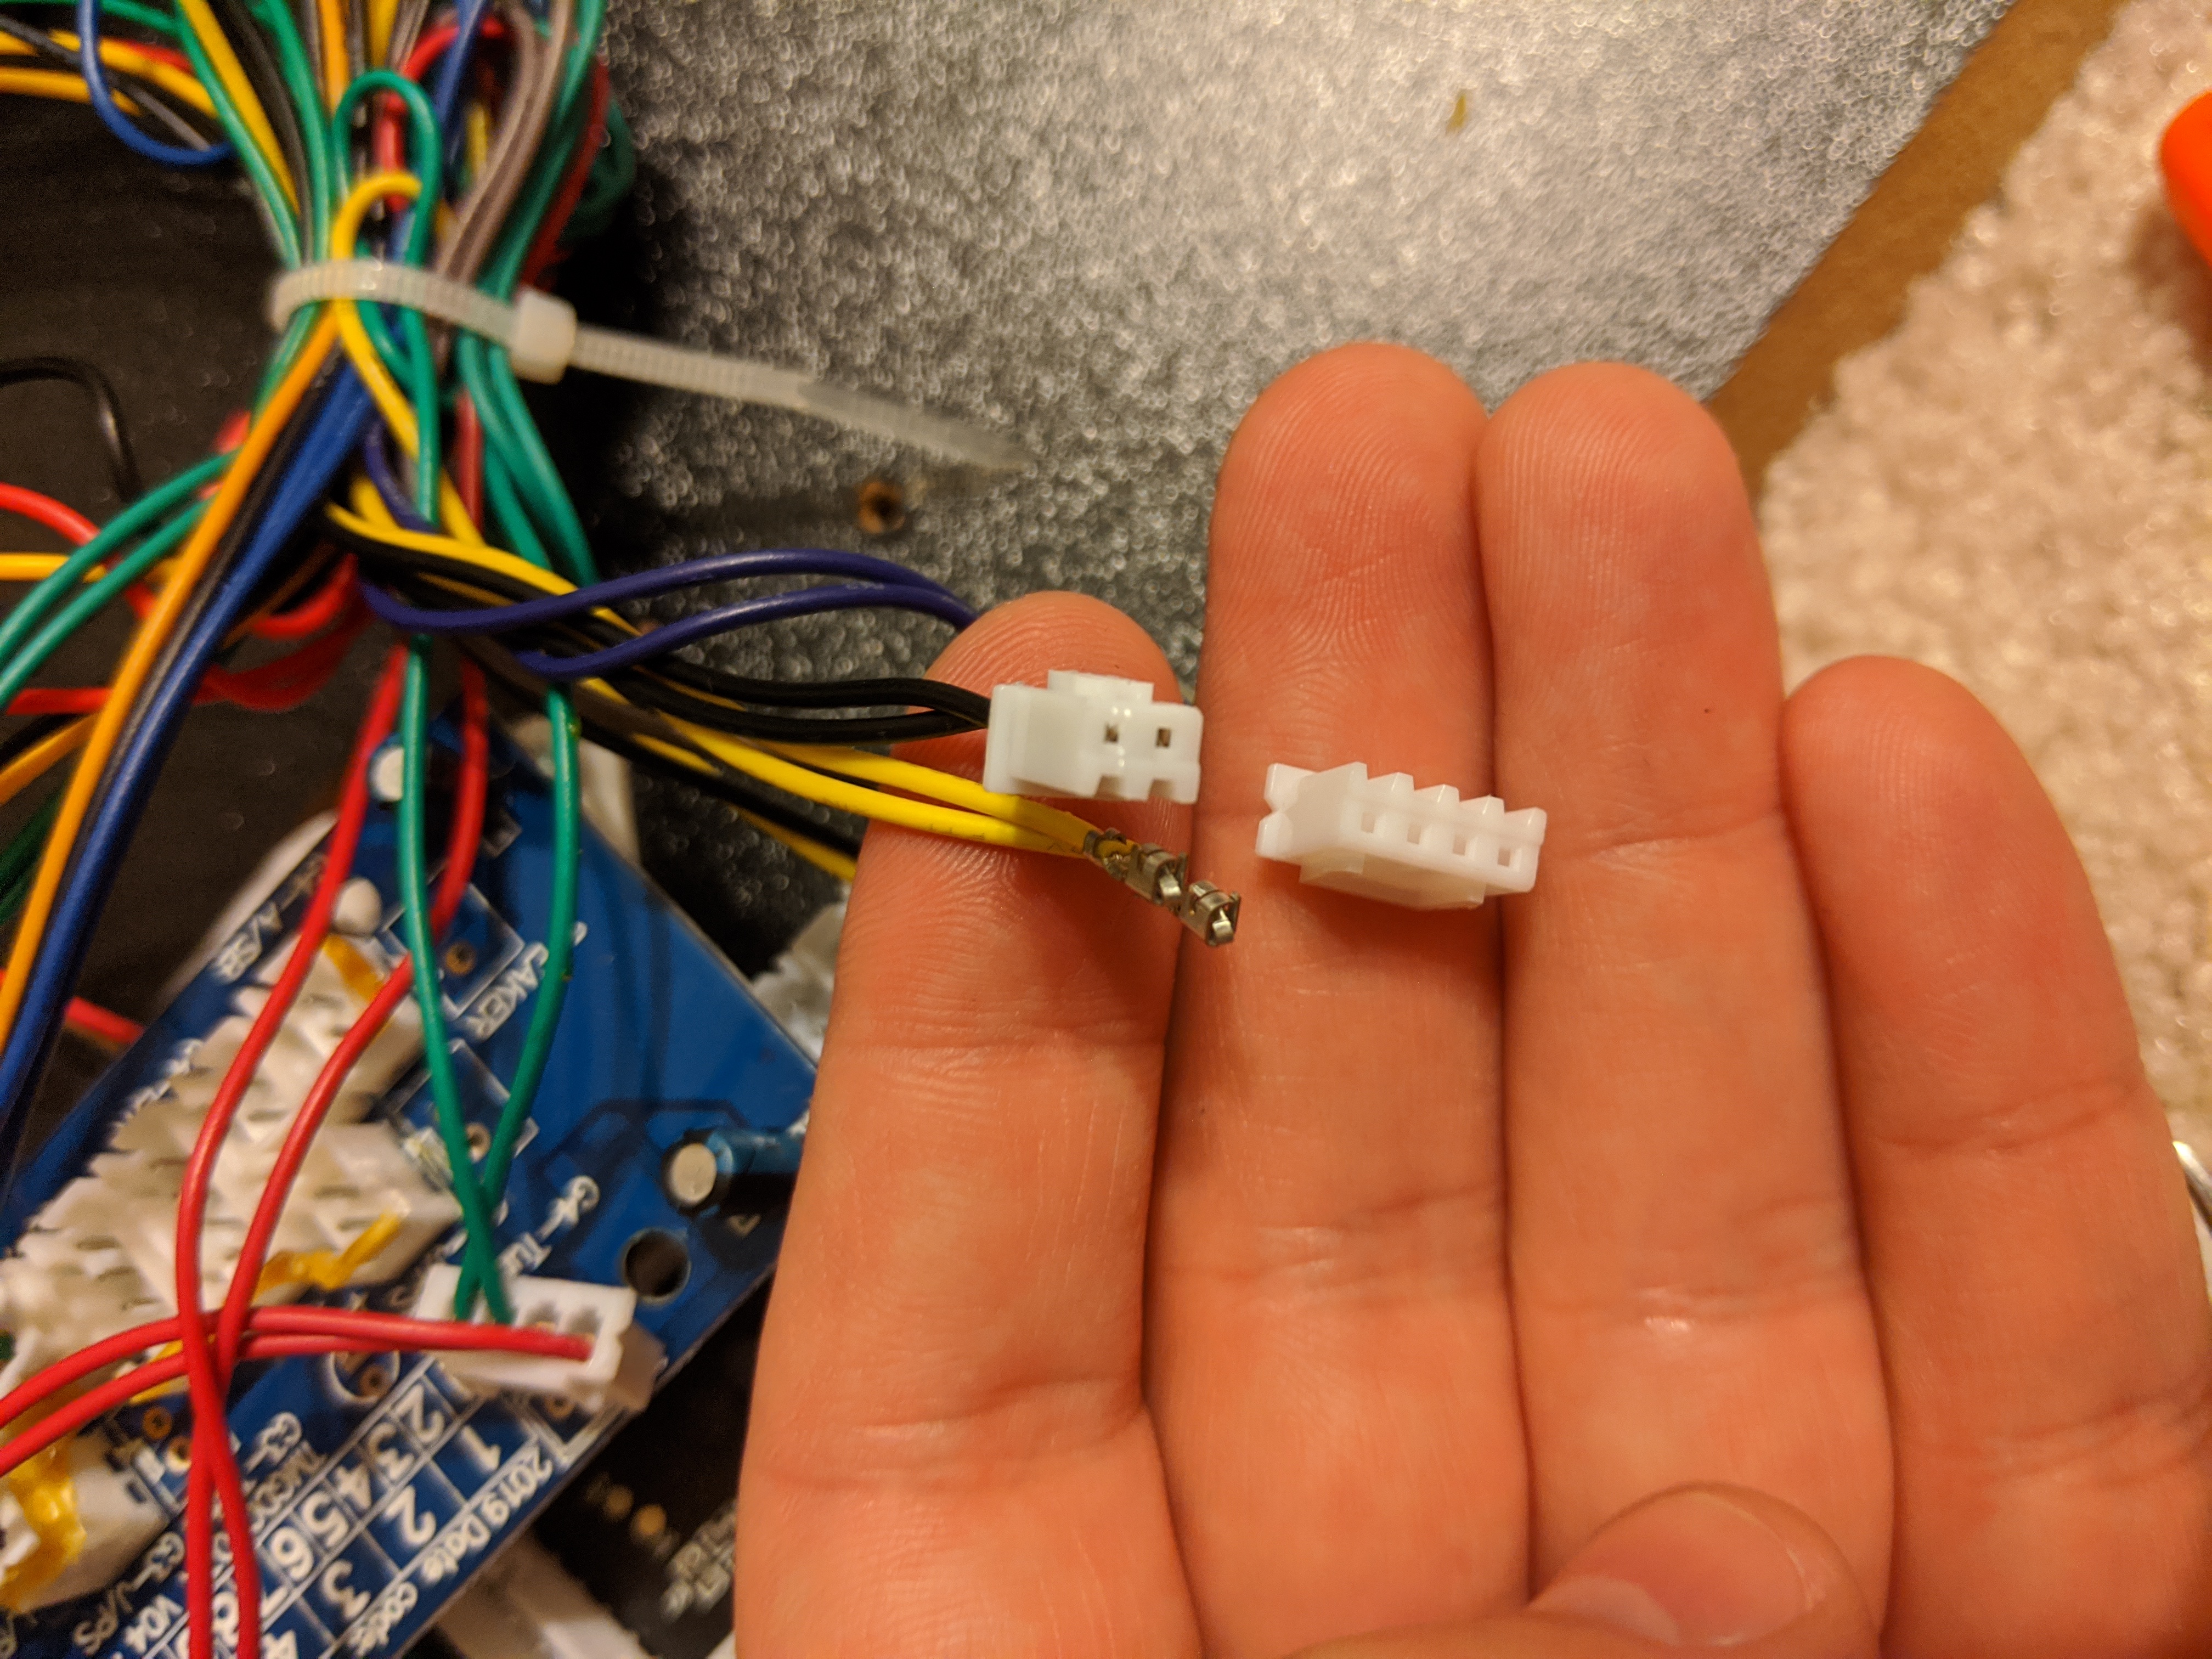
- For the joysticks I had to learn how to disconnect and reconnect a JDT connector. The joystick wires were in sets of 4, and my USB board needed sets of 2. I didn't have to pick anywhere special to put them - I just put them on the next open slot - following the usual advice to keep every control set wired in the same order.

- To allow all the USB controllers wires to connect into the controls box, I used a rotary cutting tool to cut the existing plastic opening larger.

Wiring the Screen
#I used the part that gets recommended in most guides. It worked fine, except I haven't restored sound yet. It was initially not obvious to me that I had to a remove a cover on the back of the monitor, but once I did, I started finding connectors that matched up as I needed. I pretty much just plugged each wire where it fit, and it worked on the first try.
First Configuration - Only supports 2 button games
#At this point, I had only one 'select' button. I wired the cabinet on/off switch to an extra button on Leonardo's controls. This worked for awhile, but eventually the controllers were detected on boot in a different order, and then it was no longer possible to press start+select on the new player 1, because while Donatello's controller has the same mapping, it lacks an button in that position.
Eventually I added two more buttons per player to the front panel - mapped to start and select. This returned the surface top 'add coin' buttons for use on gameplay - brining the total per player up to 3 buttons, without modifying the top of the deck.
Second Configuration - Supports 3 button games
#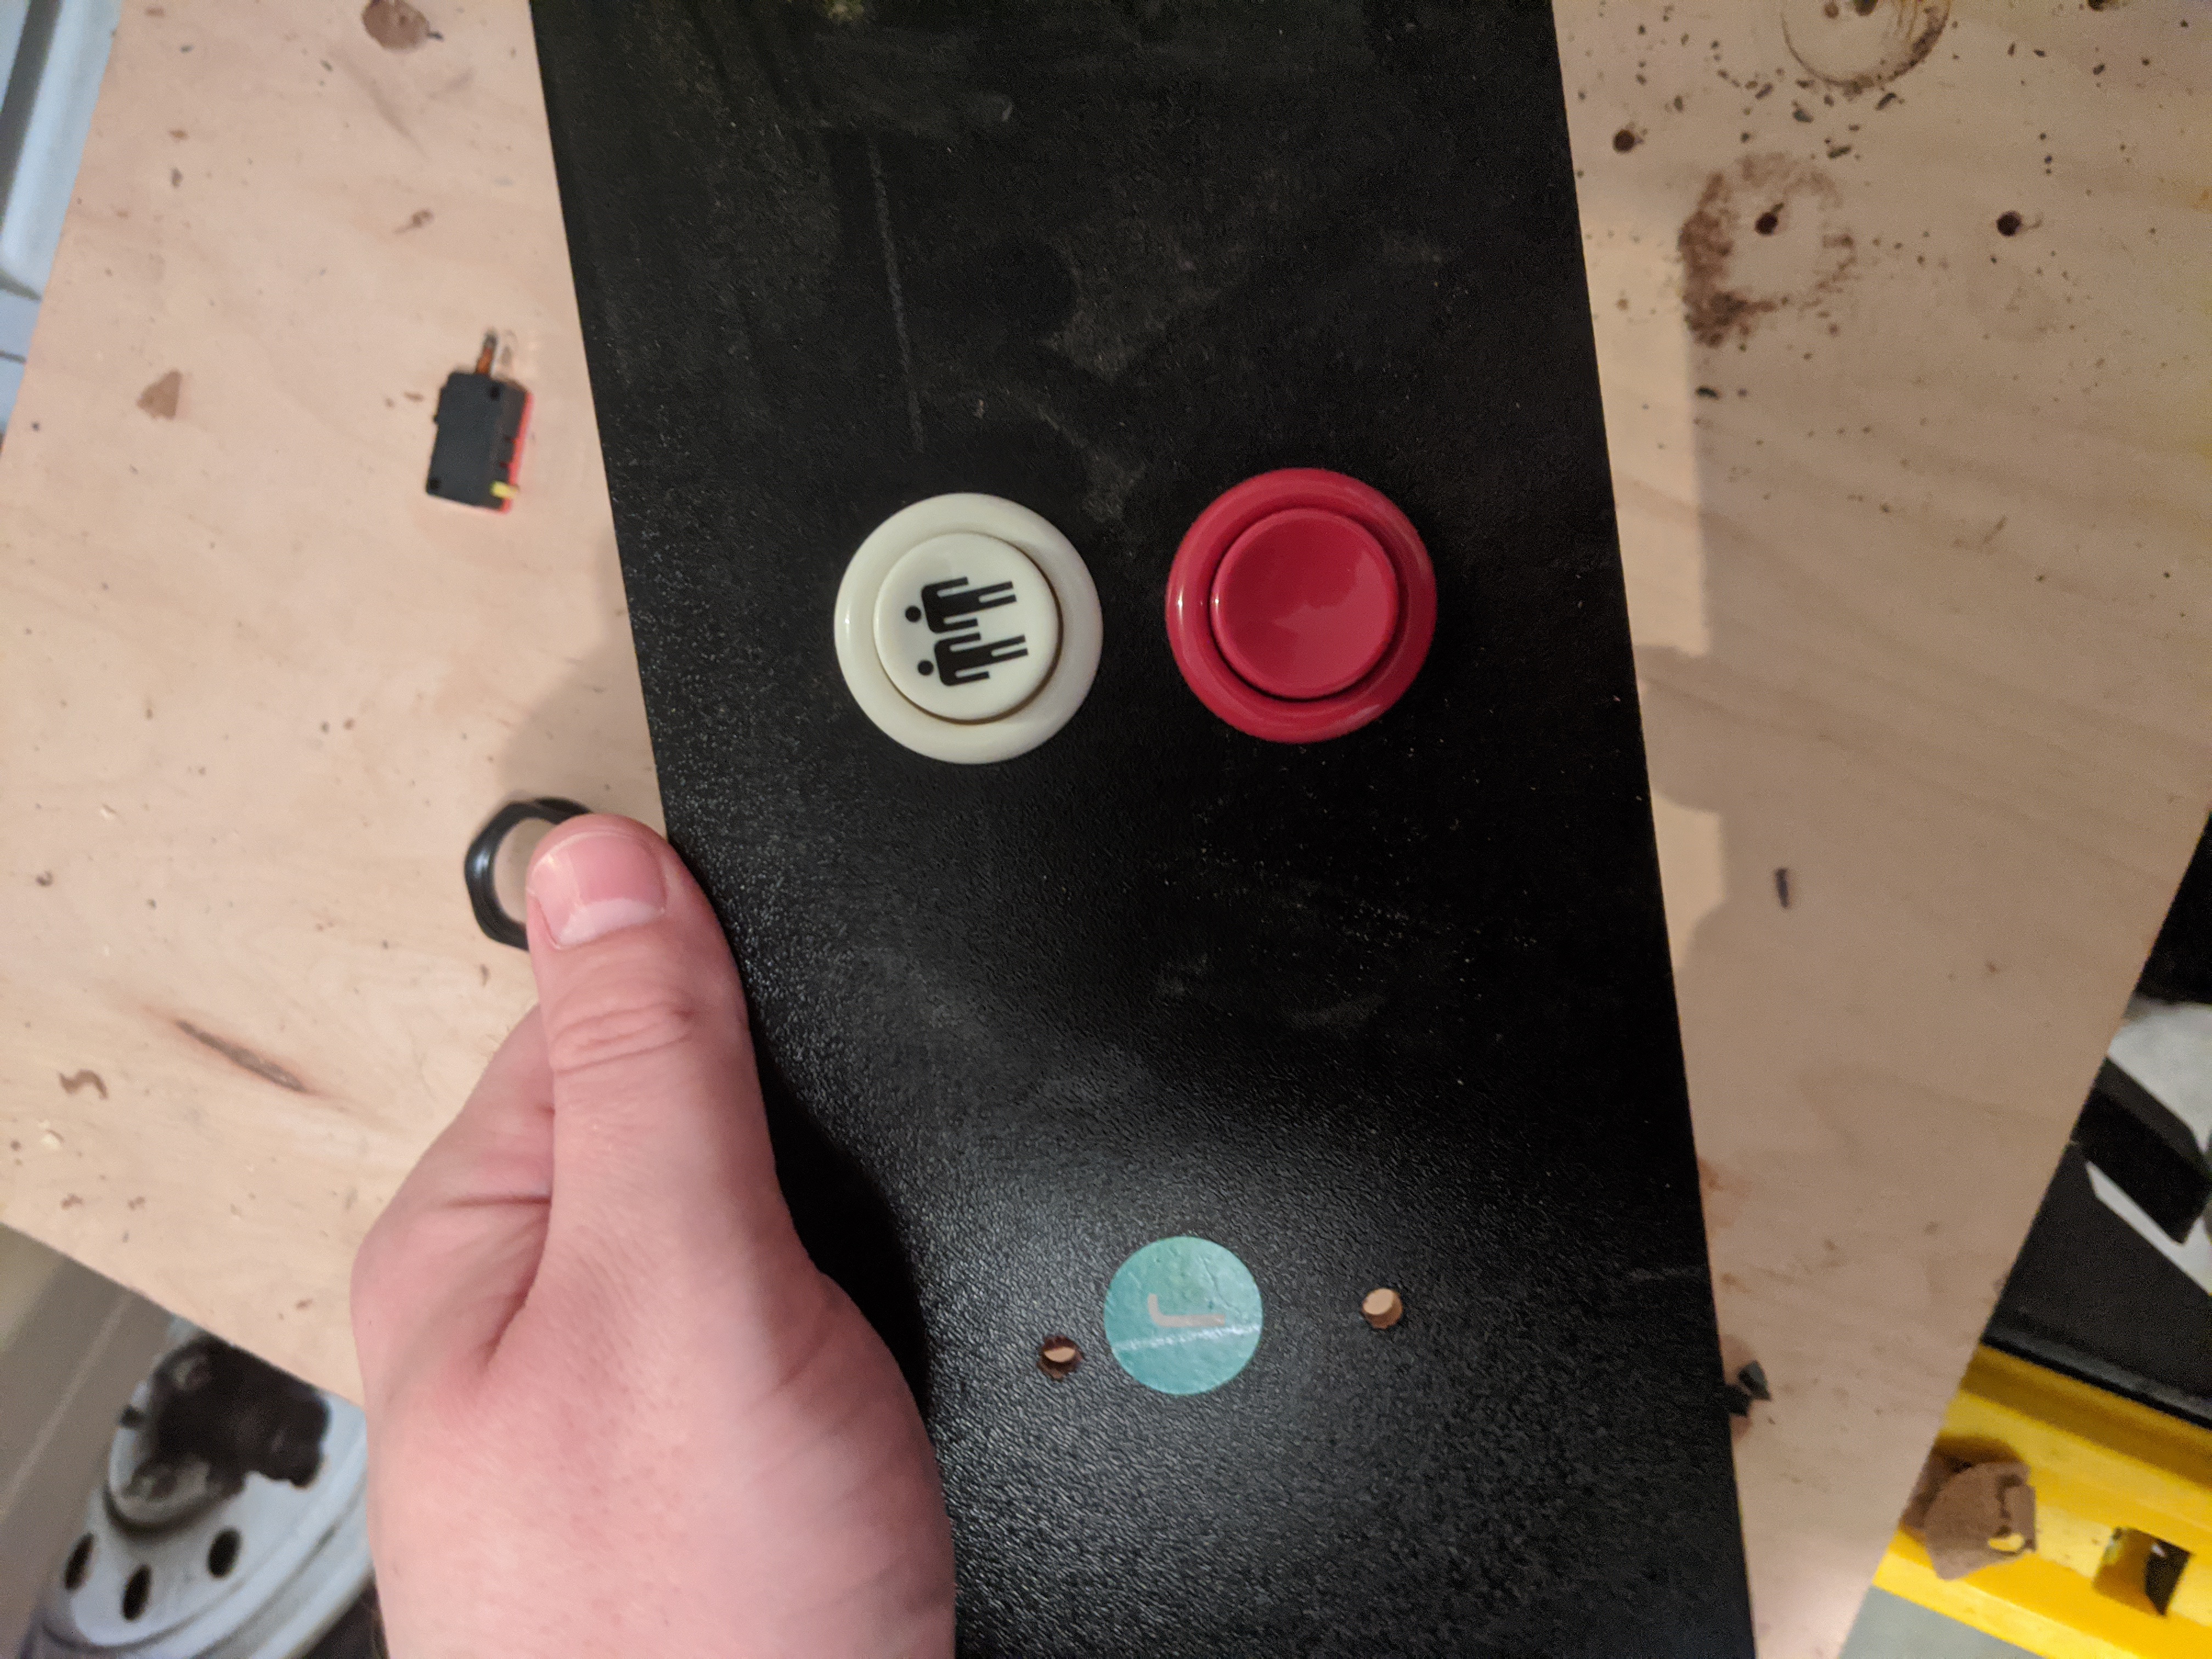
By adding 8 buttons to the panel "J" on the front of the cabinet, the will free-up the 4 "start" buttons on the top of the cabinet for use during gameplay.
Challenges
#Sound
#As of this writing, I do not have sound. The Raspberry Pi outputs the sound into the HDMI signal, and the split that comes out of the video adapter is not strong enough to drive the speaker. I understand ETA Prime has a guide to solving this, and I plan to revisit.
Power
#
Some people wire the external on/off and sound controls deep into the heart of the their Raspberry Pi, but as of this writing I have not bothered. To solve turning the system on and off, I purchased a voice control ready wall outlet switch. So I just tell my voice control gadget to turn the arcade on and off as needed.
Issues after first build
#- FIXED: On/off is at surge protector. For a couple years I controlled the power with a voice controlled outlet.
- FIXED: I finally followed this power switch guide by Kongs R Us to wire up the power switch on the TMNT control panel.
- FIXED: Only Leo and Donny are recognized. Plan to debug this after I have a full set of buttons. This problem went away after a reboot.
- FIXEd: It deserves a fan and ventilation. I plan to replace the Pi model 3 with a model 4 that will come with heat sinks and a fan. - I upgraded to a Pi model 4 that came with a fan, and I have left the back off for now.
- FIXED: Should upgrade it to a Pi4.
- FIXED: For sound, I ended up buying a cheap pair of PC speakers and plugging them directly into the Raspberry Pi audio out.
- Arcade games like TMNT aren't playable without both a Coin and a Start button per player. Plan to order longer button wires and add 8 new coin and start buttons to the angled lower front panel. This keeps me from having to drill through the plastic controls case, and I will look the look better.
- It deserves lights. I'm planning to run a simple light strip along the back of the cabinet.
- Doesn't have enough buttons to do things like save/load or manage favorites. - I am contemplating removing the On/Off and Sound controls, and adding a small custom made button box that sits on top in the same space, and adds buttons for L/R shoulders to manage save states. I could run the wires through the On/Off button space without drilling any new holes. I might not bother as this is a Raspberry Pi specific need, and if my other plan to upgrade to a Steam Box happens first, there will be no need.